How to Draw a Polar Bear
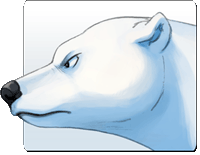 Polar bears are large, muscular animals with short legs and powerful forelimbs. The polar bear’s body is streamlined for navigating ice, water, and land. Their elongated torso and tapered head and neck are perfect for long distance swimming, while large feet give them better traction on the ice. Thick fur protects them from the cold. Try to bring out these traits in your drawing.
The key to drawing anything is to break it down into basic shapes. If you can draw circles and ovals, you can draw a polar bear. Don’t be discouraged if your first attempt doesn’t turn out exactly like the picture. Practice makes perfect, so let’s begin!
Step 1: Brainstorm Poses
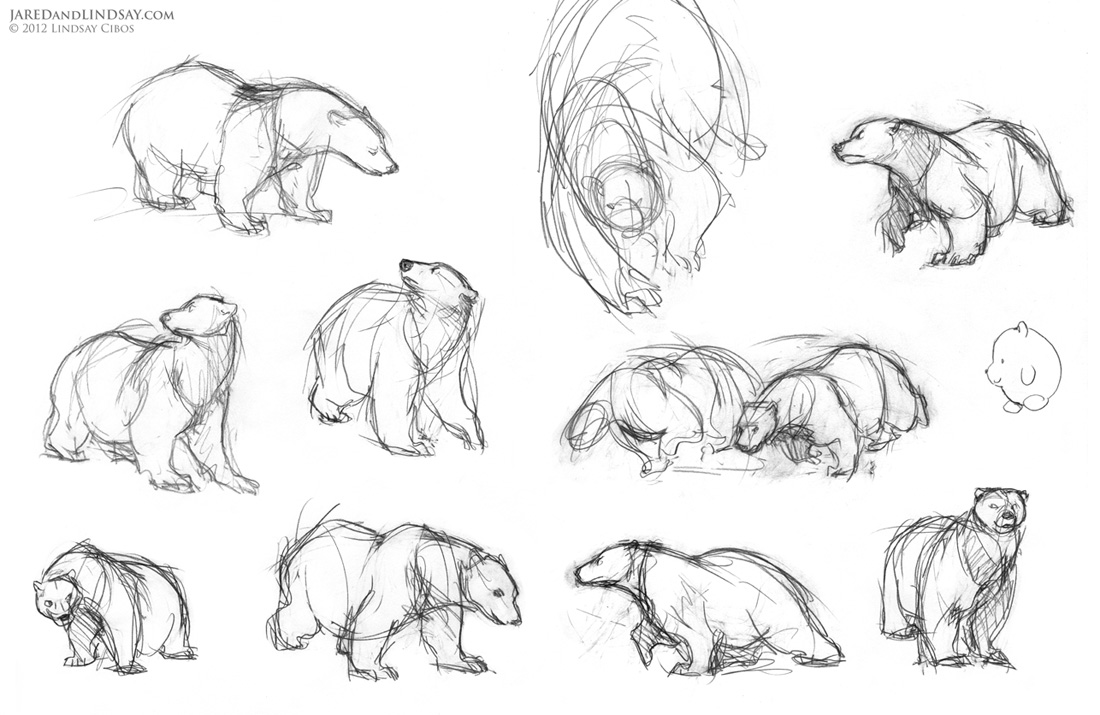
Start by sketching some thumbnail poses for your polar bear. Thumbnails are small drawings, no larger than a few inches, useful for working out ideas. Don’t worry about details yet. Use this time to get to know your character.
Step 2: Rough Pose
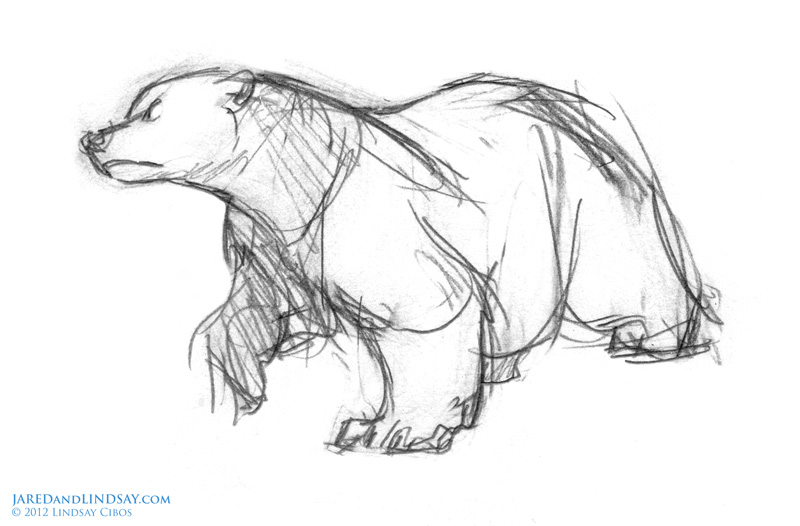
Select your favorite pose. This is the roadmap for your drawing. I picked this one for its strength and intensity.
Step 3: Upper Body
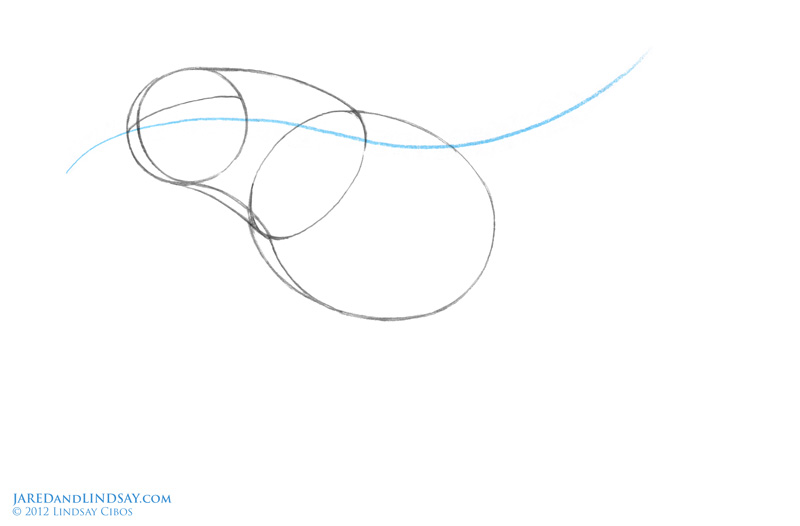
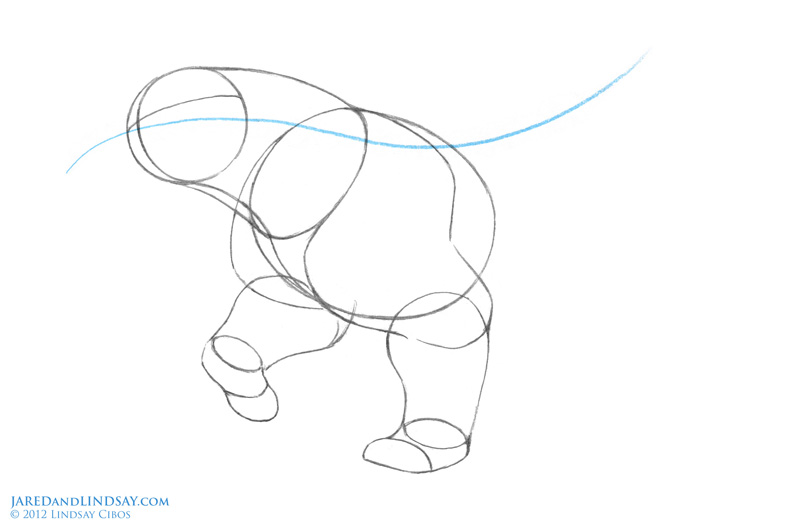
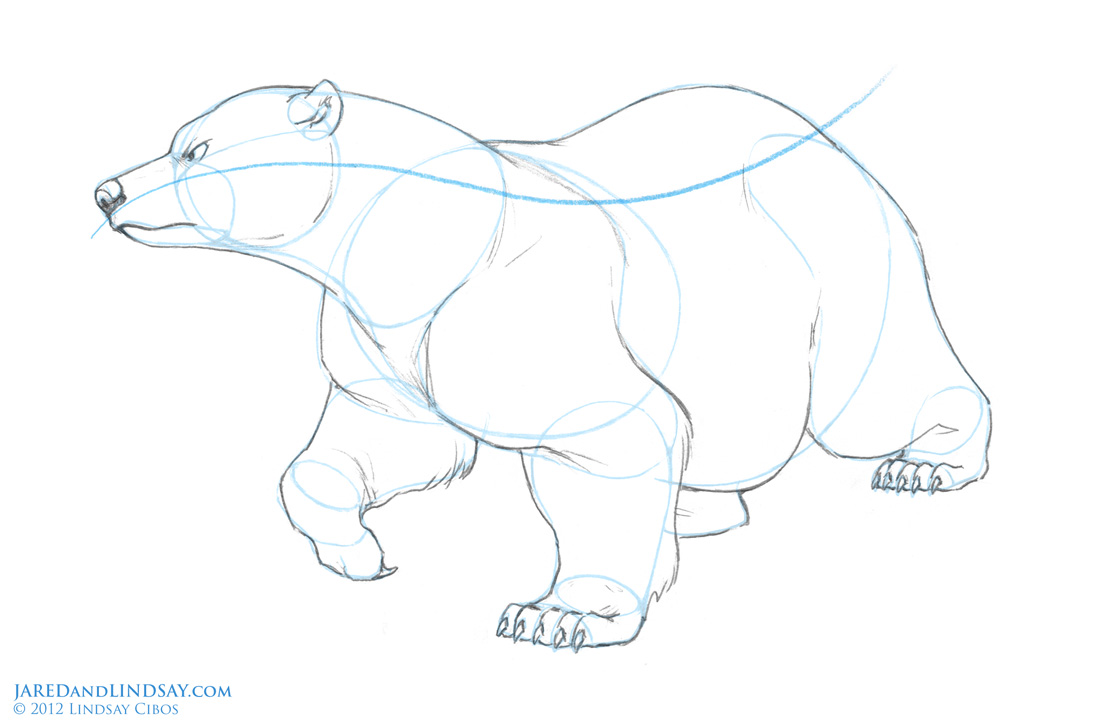
Draw a curving line of action that best captures the motion of your rough pose. Sketching lightly, begin building up the bear with basic shapes: a sphere for the head, an egg for his chest. Connect them with a long tube for his neck.
Step 4: Front Legs
Curving around the neck, draw the bear’s large, muscular shoulders. From the shoulders, draw the arms, divided into upper and forearm segments. Then add the paws.
Step 5: Head
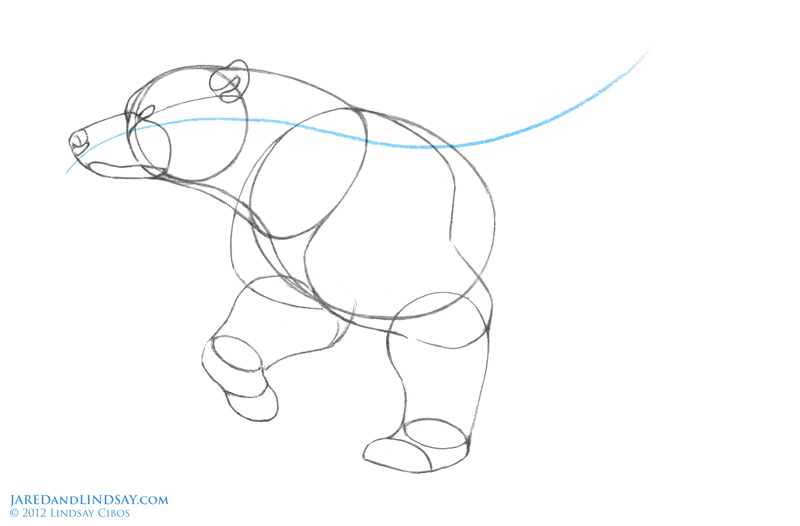
Draw an oval eye resting on the horizontal guideline of the face. Above the eye, sketch his brow bumping out from the top of the head. Place the ear towards the back of the head, also on the horizontal guideline. From the center point of the bear’s face, sketch a rectangular muzzle, then add a nose and fierce mouth.
Step 6: Lower Body
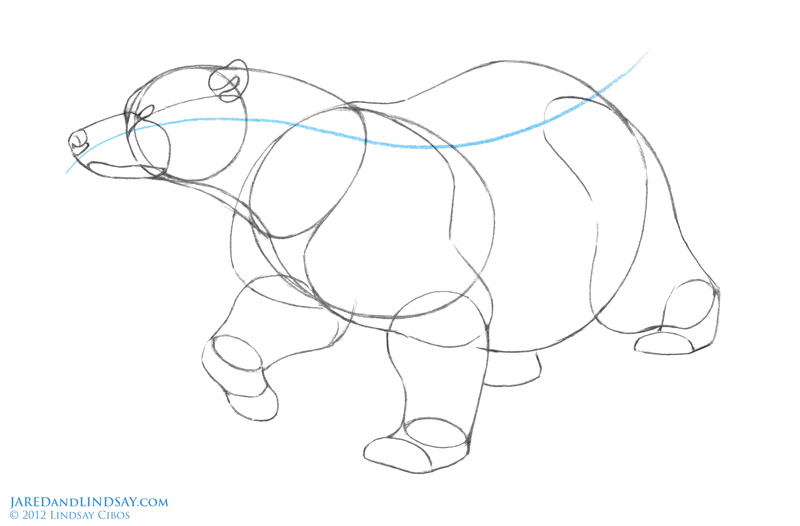
Draw a barrel shape for the rest of the polar bear’s torso. Then build up the pelvis and hind legs.
Step 7: Details
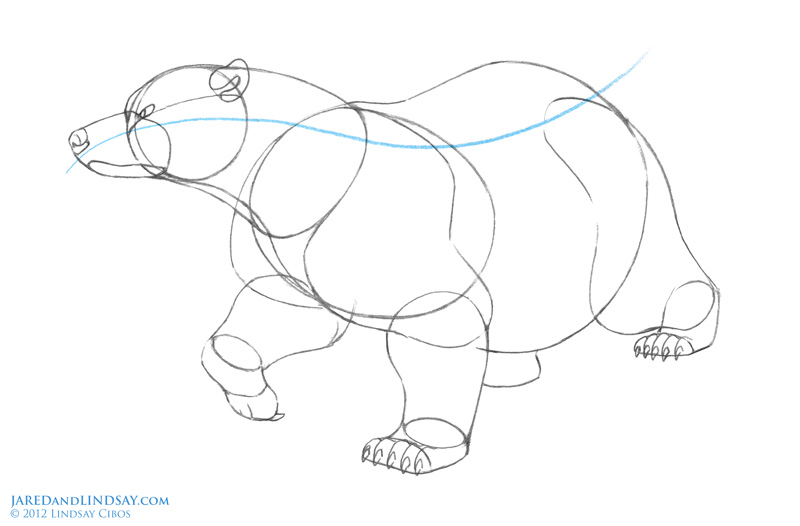
Divide each of the paws into five individual toes. Sketch a curved claw in the center of each toe. Then detail the bear’s eye with the iris.
Step 8: Refine Drawing
Tighten and darken your lines. Use broken lines to fluff up the bear’s elbows, wrists, and body. Erase any construction guidelines. Fill in his nose and eyes with pencil shading.
Step 9: Color
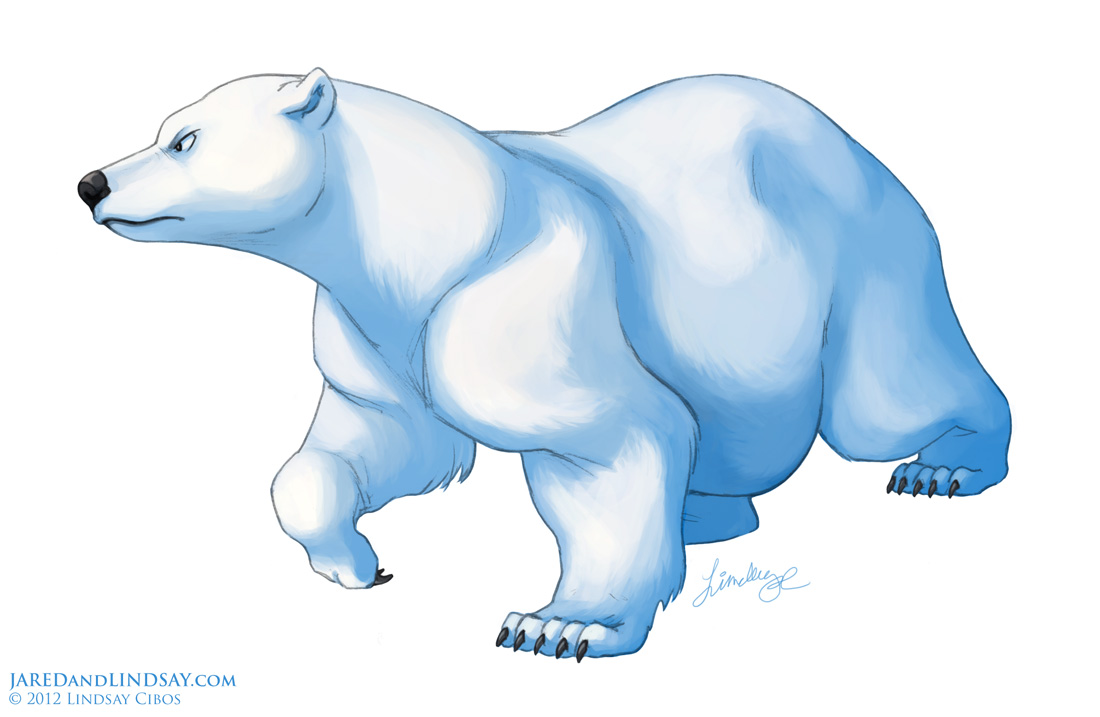
Now to color your King of the Arctic. Interestingly, polar bear fur appears white, but is actually transparent. Bring out the bear’s volume with a shadow tone. Uses blues for a cold, serious mood. Creamy yellows are another option. Add some jagged strokes for furry texture and you’re done!
Thanks for reading!
Don’t give up if your first drawings aren’t perfect. Art is not something that can be learned overnight. Drawing is a skill that must be practiced and supplemented through observation, so keep a sketchbook, and take it with you everywhere. Look around you, draw what you see. Visit the zoo and sketch animals. Sketch people at the mall. The more you draw, the better you’ll get. Good luck!
Download the complete lesson for offline use here!
If you enjoyed this tutorial, check out my new book on drawing anthropomorphic animal characters, Draw More Furries! Click on the book cover below to learn more. Happy drawing!
Thanks for this step by step tutorial. It is really impressive the way you have drawn from rough pose to beautiful detailing….