How to Draw an Arctic Fox
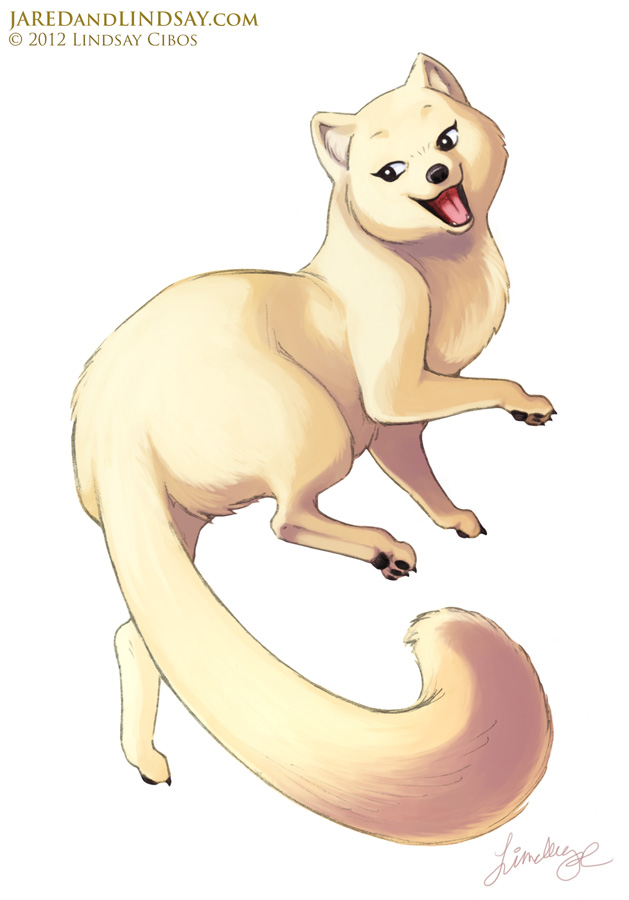
 Arctic foxes are nimble and curious animals, bursting with energy. They have thick fur to protect them from the cold, which makes them especially puffy and adorable. In the winter, their fur is white to camouflage them in the snow. It thins and turns brown in the summer. For this tutorial, we’ll be drawing their winter form.
The key to drawing anything is to break it down into basic shapes. If you can draw circles and ovals, you can draw a fox. Don’t be discouraged if your first attempt doesn’t turn out exactly like the picture. Practice makes perfect, so let’s begin!
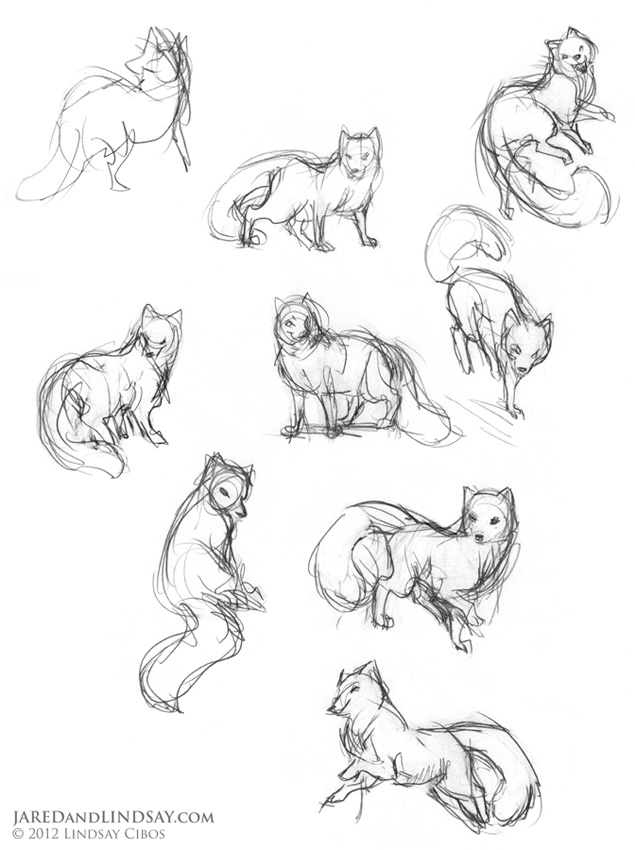
Step 1: Brainstorm Poses
Explore possible poses for your fox by making some thumbnail sketches. Thumbnails are small rough drawings, about a few inches in size. Sketch freely without worrying about details or mistakes.
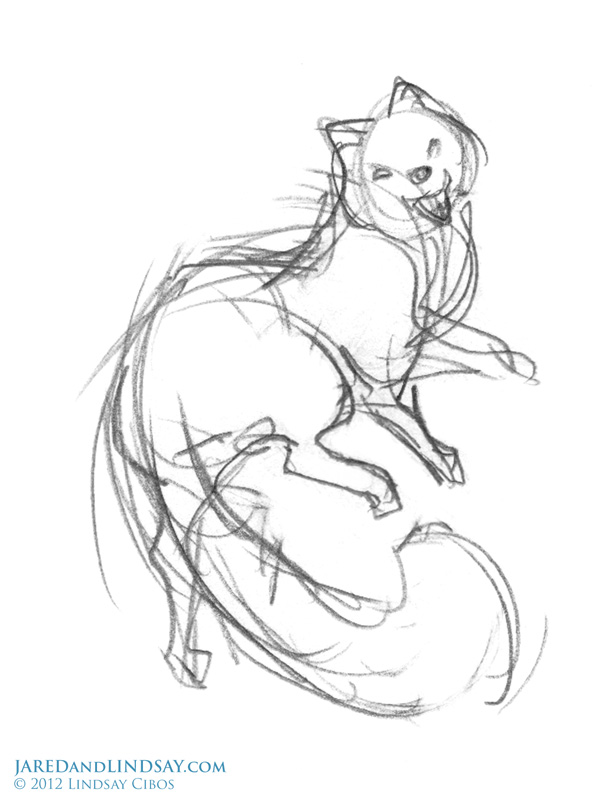
Step 2: Rough Pose
Look over your sketches and pick your favorite pose. I choose this one for its lively, energetic quality. Refer back to your thumbnail sketch often as you draw to ensure you don’t lose sight of your original plan.
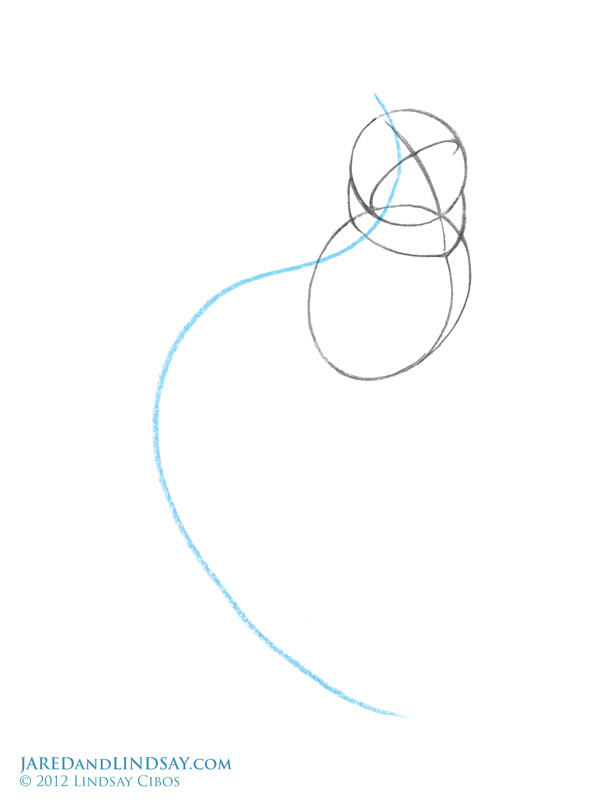
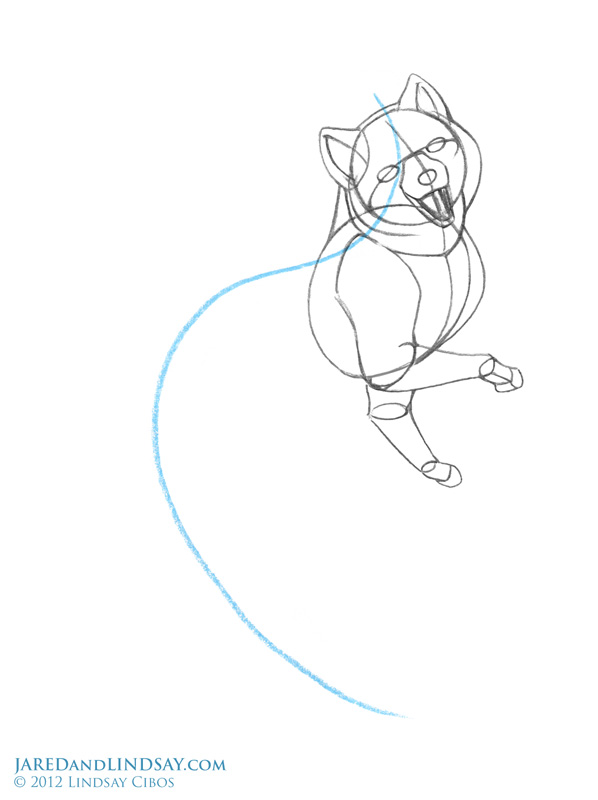
Step 3: Upper Body
Draw a snaking line of action capturing the motion of the pose. Sketching lightly, build up the fox’s body using basic shapes: a sphere for the head, an egg for the chest. Connect them with a thick tube-shaped neck. Draw a guideline down the center of the figure, and a horizontal guideline across the center of the head.
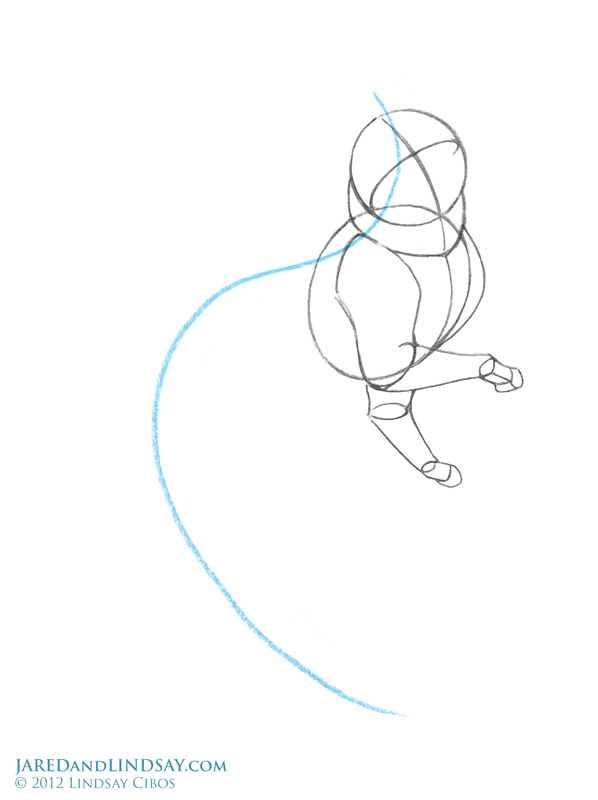
Step 4: Front Legs
Draw the fox’s shoulders and arms using simple tube shapes. Thick fur makes their upper arms look bigger than they really are. For each paw, draw a small rectangle capped with a curved segment. Bulk up the front of the chest with extra fur.
Step 5: Head
Extend the top and sides of the head shape to suggest more fur. At the top of the head, sketch two triangular ears. Next, draw a pair of oval-shaped eyes along the horizontal guideline of the face. Between the eyes, draw the muzzle extending outward. Draw the lower jaw opening in a smile.
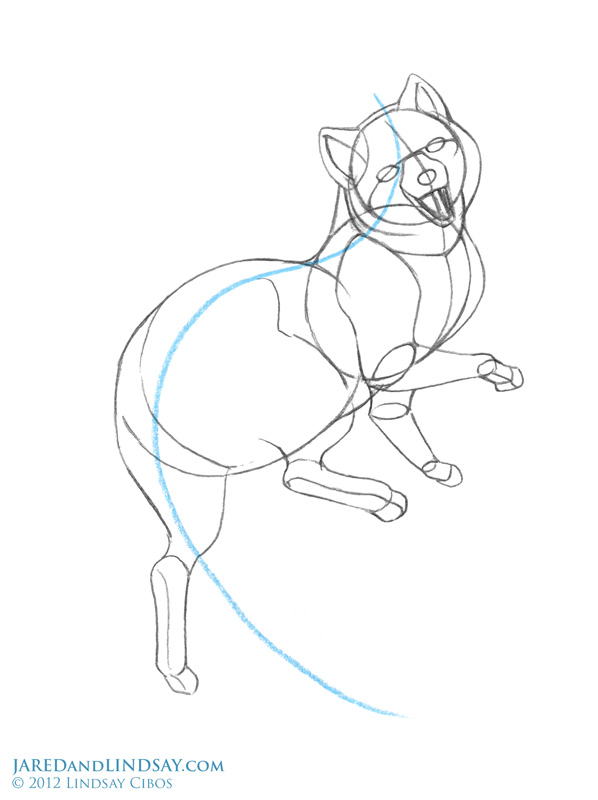
Step 6: Lower Body
Draw another egg shape for the fox’s torso. Sketch a center guideline. Then draw the pelvis and legs, the right leg kicking up, and the left stretching down.
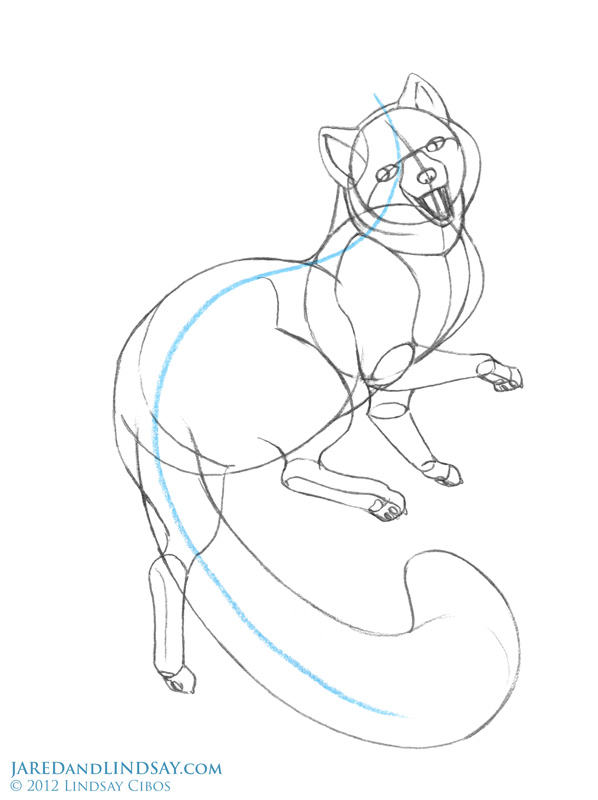
Step 7: Details
Sketch a large fluffy tail from the fox’s rear, curving with the line of action. Add pads to each of the fox’s toes, and one larger pad beneath those. Then add short claws. Detail the fox’s eyes with irises, and add nostrils to the nose. Almost done!
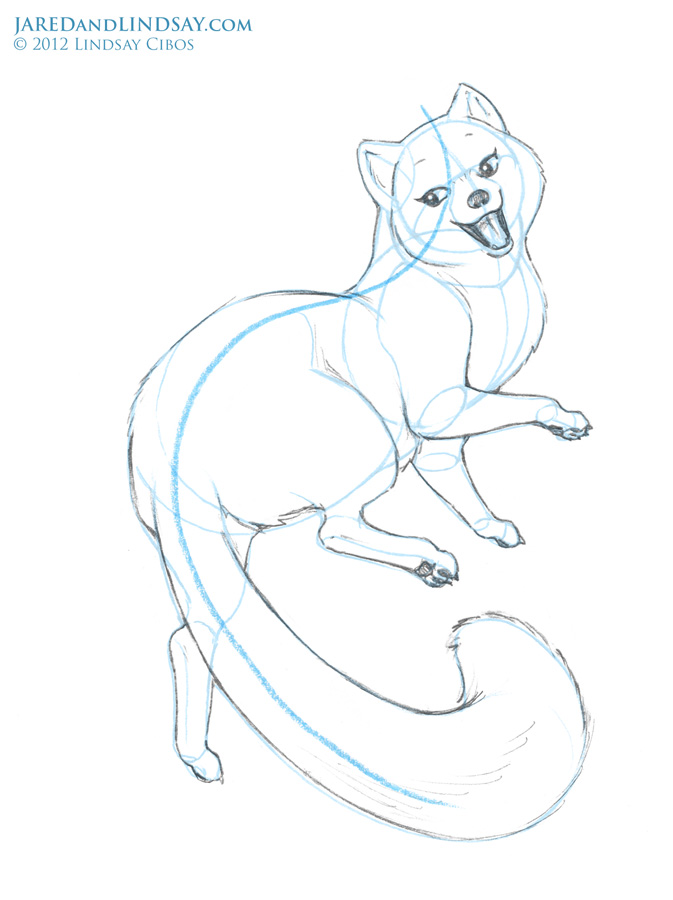
Step 8: Refine Drawing
Tighten and darken your lines. Use broken lines to indicate the fox’s dense fur, especially the tail, chest, cheeks, and inner ear. Erase any construction guidelines. Fill in the nose, eyes, and paw pads with pencil shading.
Step 9: Color
In the winter, Arctic foxes are white, or sometimes blue-gray. To give the character a feeling of warmth and excitement, I substituted white with a creamy yellow, and used a red-purple for the shadows. Apply some of the color with jagged strokes to give the fox a furry texture.
Thanks for reading!
Don’t give up if your first drawings aren’t perfect. Art is not something that can be learned overnight. Drawing is a skill that must be practiced and supplemented through observation, so keep a sketchbook, and take it with you everywhere. Look around you, draw what you see. Visit the zoo and sketch animals. Sketch people at the mall. The more you draw, the better you’ll get. Good luck!
Download the complete lesson for offline use here!
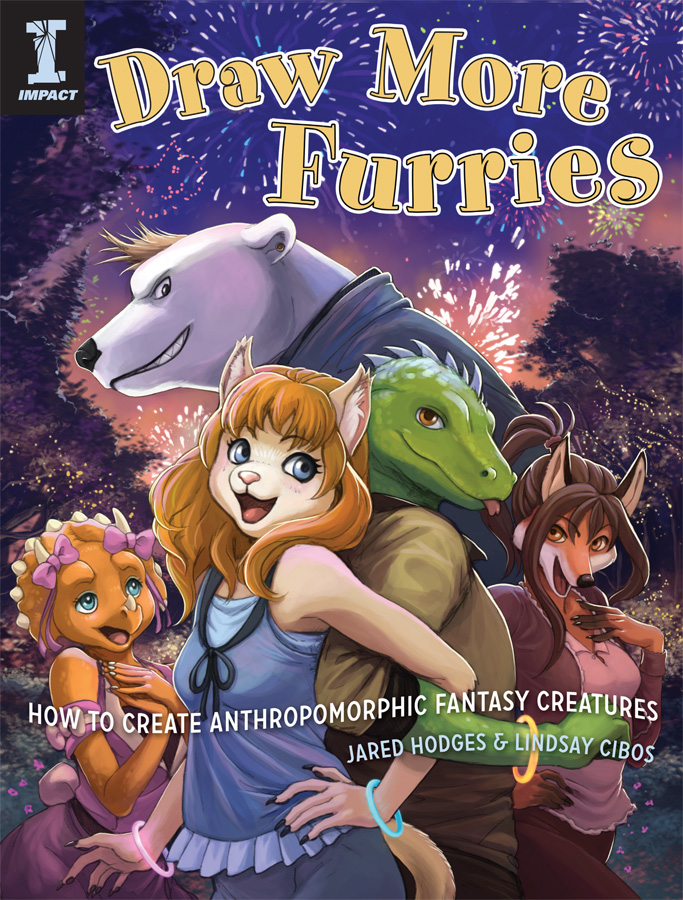
If you enjoyed this tutorial, check out my new book on drawing anthropomorphic animal characters, Draw More Furries! Click on the book cover below to learn more. Happy drawing!
Discussion ¬